
and here comes part II of the manual :-) are you ready? :-)
my crochet bunny looks like now, that I have since the last time the body or a piece hochgehäkelt:

III - upper body and bunnies-poor
hochgehäkelt then after you have a total of about 4-5 cm, is divide the upper part of the body in two separate crochet - so no longer in the circle, but back and forth. Sun side of the openings created for the poor.

parts that are slightly slanted crochet, Just at the beginning of each row and skip the first stitch crochet the same in the second. After about 1.5 cm in height and pull the thread through the mesh. then begin the second part. record as here on the photo again and then a mesh of about 1.5 cm in the back-and-forth rhythm up crochet and do not forget the side bevel.


now is to each of the two side openings angehäkelt poor. to stitch along the opening to take up and connected by a chain stitch. now back in the high-clockwise crochet, arm length until the desired added. with my bunny is about 8.5 cm. Remove


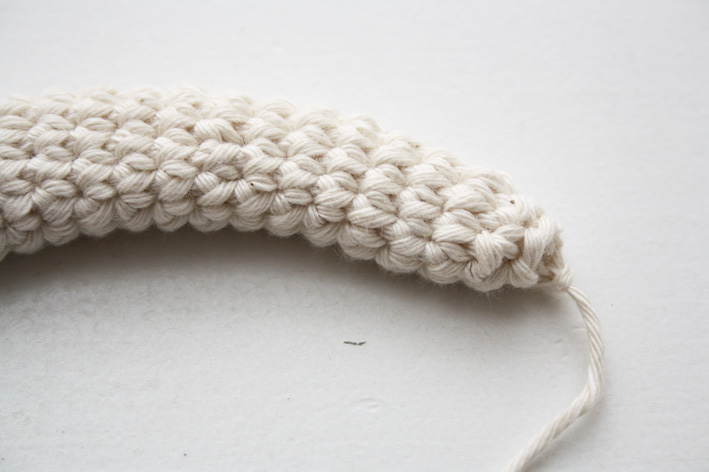
now the hare already looks like this:

arm the same with the second ... it equal it at the beginning that the second arm has approximately the same width. at the beginning can still correct the good (by ab increase or stitches), is later, however, it must be annoying and you open up the whole arm again.

IV head and neck
now on the upper side a series of mesh and take about 2 rows of crochet around clockwise (neck)

in the second row if possible 3. - Remove the four stitches in total, so that the opening to contract something.

the neck of the rabbit is very small, so that the head is stable and not hanging on the neck later, so no (giraffe) neck.
series after about 2 solid stitches Cut the thread and pull through last stitch.
now goes to the head ... the head has an egg shape. it begins again with a crocheted circle, which is larger than the circle for legs and arms. only at a diameter of about 3 cm to quit and increase stitches on crochet normal (= one stitch in the underlying mesh crochet) until the curved shape again.


now is to will form gradually narrow to make it look somewhat like an egg (according to this schema can also be nice easter eggs, such as trailers, crochet!) in a regular interval (eg after every 5th mesh) a mesh with crochet skip. ;


then crochet stitches decrease it further and finally the end mesh draw, sew up the bland and possibly the remainder of mouth.

one look at the standing between ....

now fill the belly through the neck opening with flowing ...

uff! and take a deep breath now :-)

next the head is sewn to the body - that's the whole hare the uglier work. because the seam should be as invisible and you have to really finesse because somehow muddle through :-)

... but worth it :-) the main thing is that the head is sitting pretty stable - but would rather invest a little more time.

and since we are already at sewing, you can also still the same eyes and nose are sewn on. for this I would use dark blue.

so now he lives schonmal :-))

... and would naturally have ears and a hose ... follow the instructions in the third part!

much fun with crochet!

... in part I of the instructions it goes here ....
and part III of the instructions it goes here .
0 comments:
Post a Comment